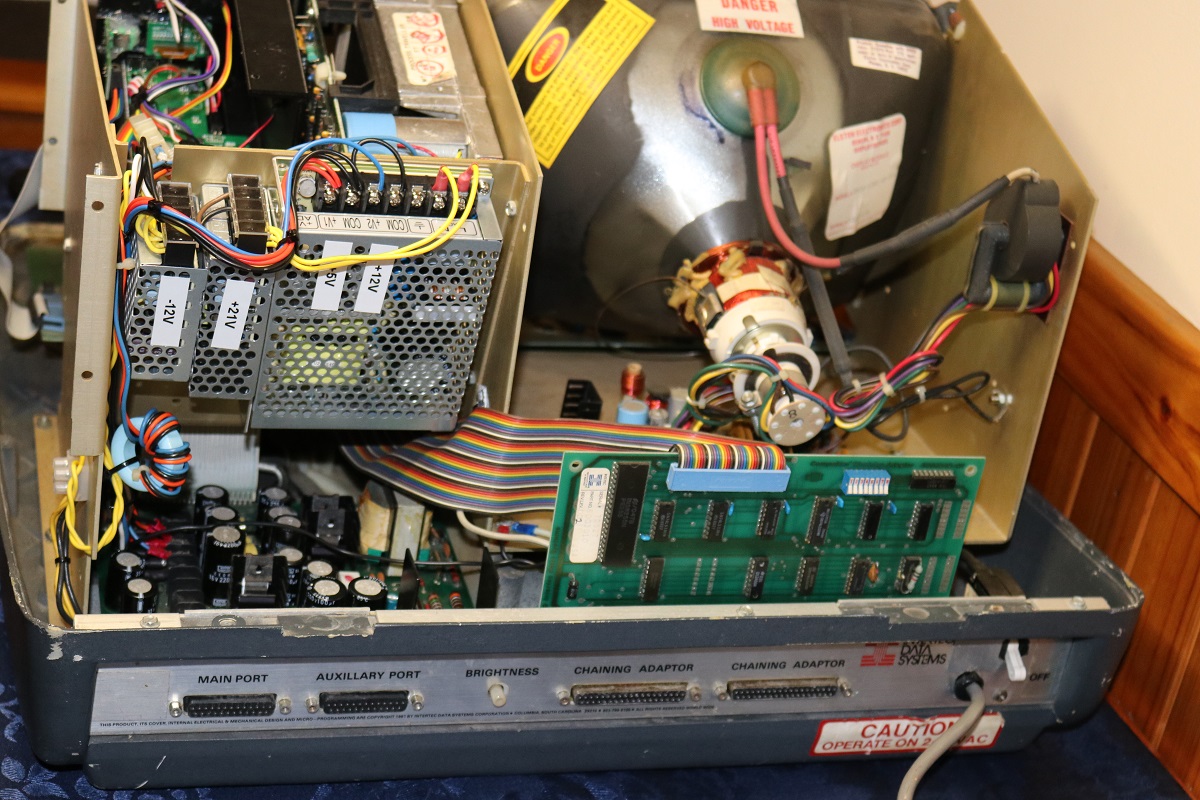
I purchased this computer on EBAY when it came up. I was excited when I received it, but I started to doubt myself; was I kidding myself that I could repair it; it had no disks and it looked like it had been poorly stored. But the electronics looked OK and untouched, and once I started researching, I found lots of documentation and information from others who had restored similar units. Most importantly, the circuit diagram revealed a type design from circa 1980 which I was totally familiar with.
The Compustar was a reasonably successful commercial computer. This unit includes a “chaining adapter” which allows it to be networked with other units and a shared central disk drive. This unit appears to have been used in such a network. I can just see the words “STATION 003” and “INVOICE” lightly burnt into the CRT, suggesting that it was used in an office’s accounts department. So this unit was actually a Compustar “VPU” (Video Processing Unit); unlike the “Superbrain” which was the model sold as a standalone personal computer. But the basic design, including the entire main circuit board is the same. Only the boot ROM appears to differ. So although this unit was originally a “VPU”, the repair has converted it into a “Superbrain” model 20 (or 30? I am not sure what the difference is).
The architecture of this computer is not remarkable; it is a typical CP/M computer with Z80 CPU, 64k RAM, dual disk drives and two serial ports. But it’s distinguishing feature is that it is extremely stylish, with a heavy duty case. The upper case is about 5mm thick and has nice curves. This made it a common prop in movies and TV shows from that era. It looks like the classic ideal computer, unlike other home computers such as the TRS80 with separate a keyboard and TV monitor and cables everywhere!
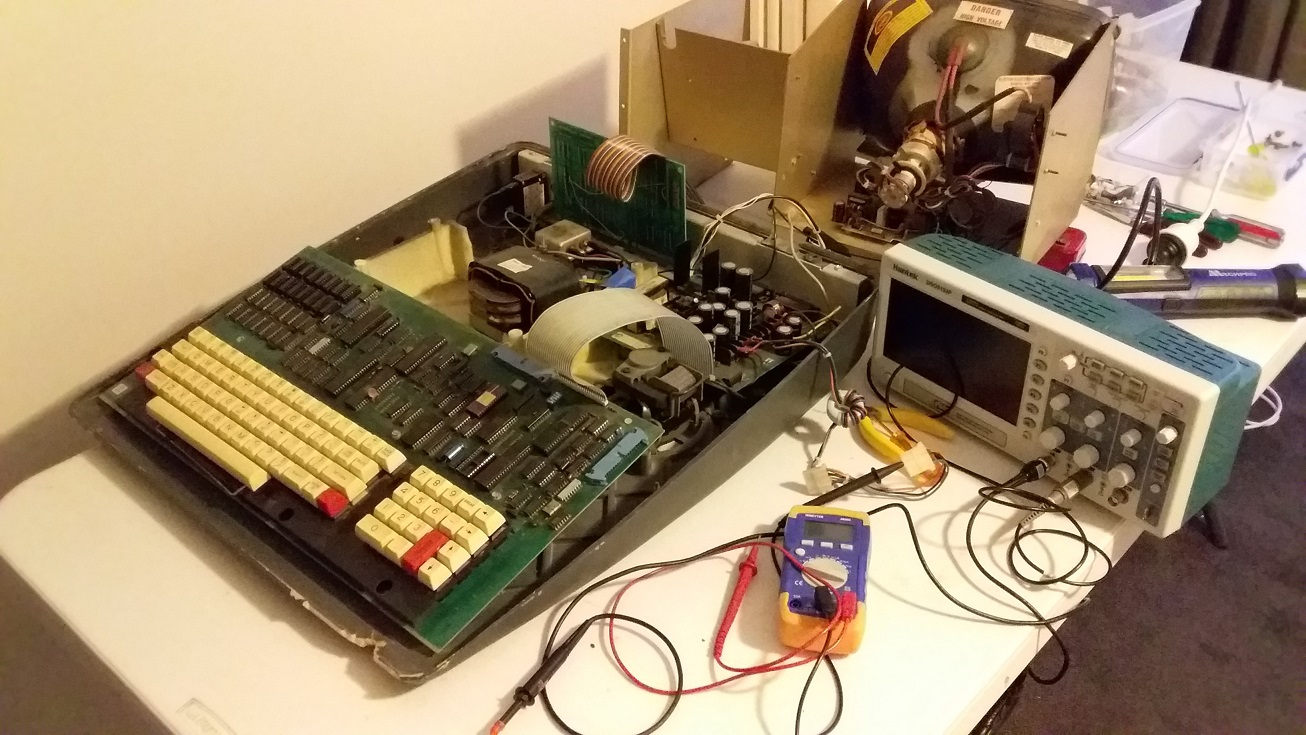
The computer is now fully restored and operational. The following is a brief description of this restoration of the various subsystems, which will hopefully be of use to others who might be endeavoring to restore another.
Restoration
Altogether, the restoration took about a year, starting in September 2021 and finishing in October 2022. Each replacement IC usually involved online ordering and then waiting a month for the component to arrive, so this was the greatest cause of delay. And fabrication of the 3D printer enclosure for the Gotek drive took some time, as this was done as a favour from a friend, and you can’t rush favours!
CPU The Compustar has two Z80 CPUs. The second CPU is used for floppy disk control. It is a bit of a mystery as to why it was designed this way, as it still uses a standard WD1791 FDC controller chip and doesn’t make accessing a floppy any faster! This second CPU was faulty and running hot, so it was replaced. But I also replaced the primary CPU as well. The new CPUs did not like the weak clock signals from the old 74LS161 clock TTL dividers, so these were replaced with new 74HC161 types. This gave a nice strong clock signal which brought the new CPUs to life.
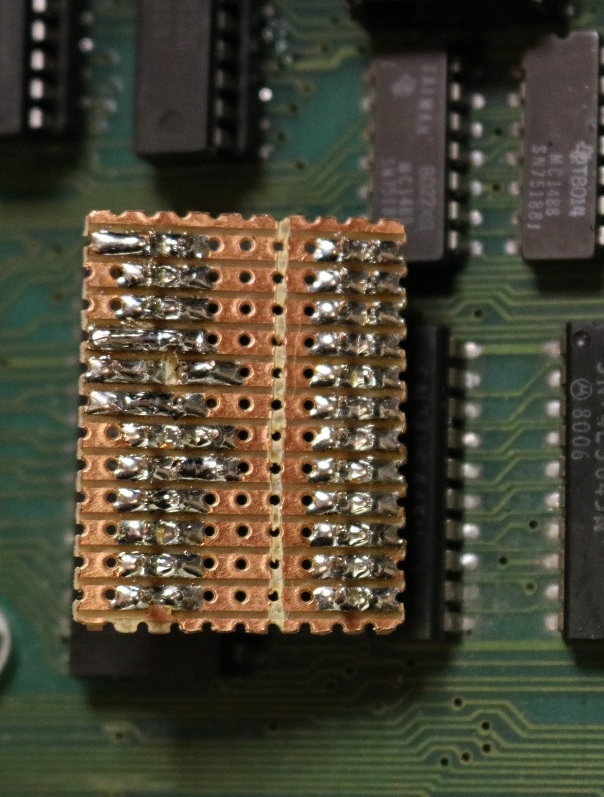
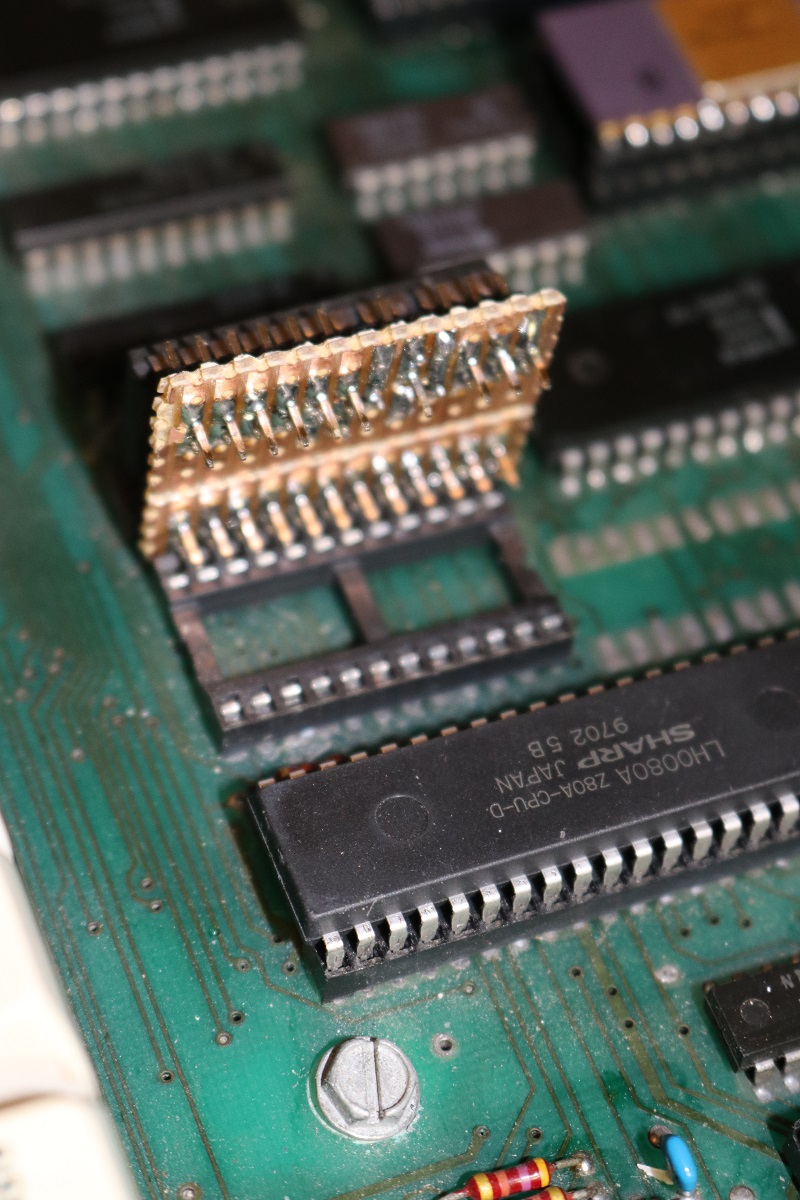
ROM The system boots from a 2K EPROM. Each CPU boots from this into its assigned role. But the ROM was clearly dead. It was an old Texas Instruments 2716, which requires a negative substrate bias voltage, and which isn’t pin compatible with other manufacturer’s 2716 EPROMs. This was replaced with a contemporary 2816 EEPROM on a small adapter board for the pin assignments. Fortunately there were plenty of instructions on the net from other people who struck the same problem, along with suitable ROM images which I was able to burn.
RAM This unit has a full 64k, composed of 4×8 banks of 4116 dynamic RAM chips. Fortunately, the entire RAM is working and did not require any repairs.
CRT CRTs are not my strength, so I engaged a local TV tech to get it working and to check the tube. The screen image is now bright and crisp. There is a small wobble on the right side of the screen, but I do not find it even noticeable in ordinary use. A couple of caps were replaced when it was repaired.
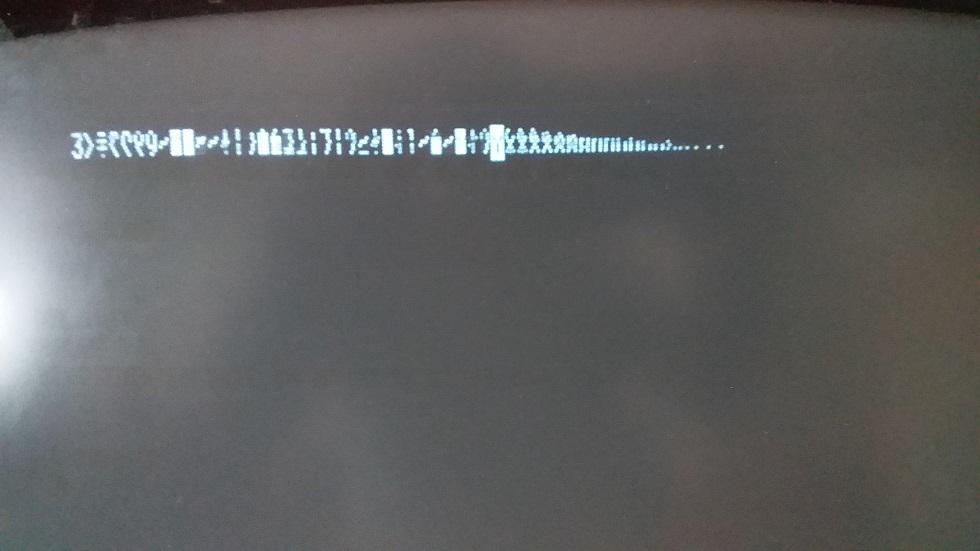
Video circuit Fixing the CRT revealed that there were further problems with the video circuitry as there was only a flashing cursor. But with some of the other repairs, the screen started to display a “torn” image in the top left corner which was the same each time the computer was booted. Although I couldn’t read it, I was confident that it would displaying “Insert a disk in drive A”, which suggested that everything else was OK if I could get the video working.
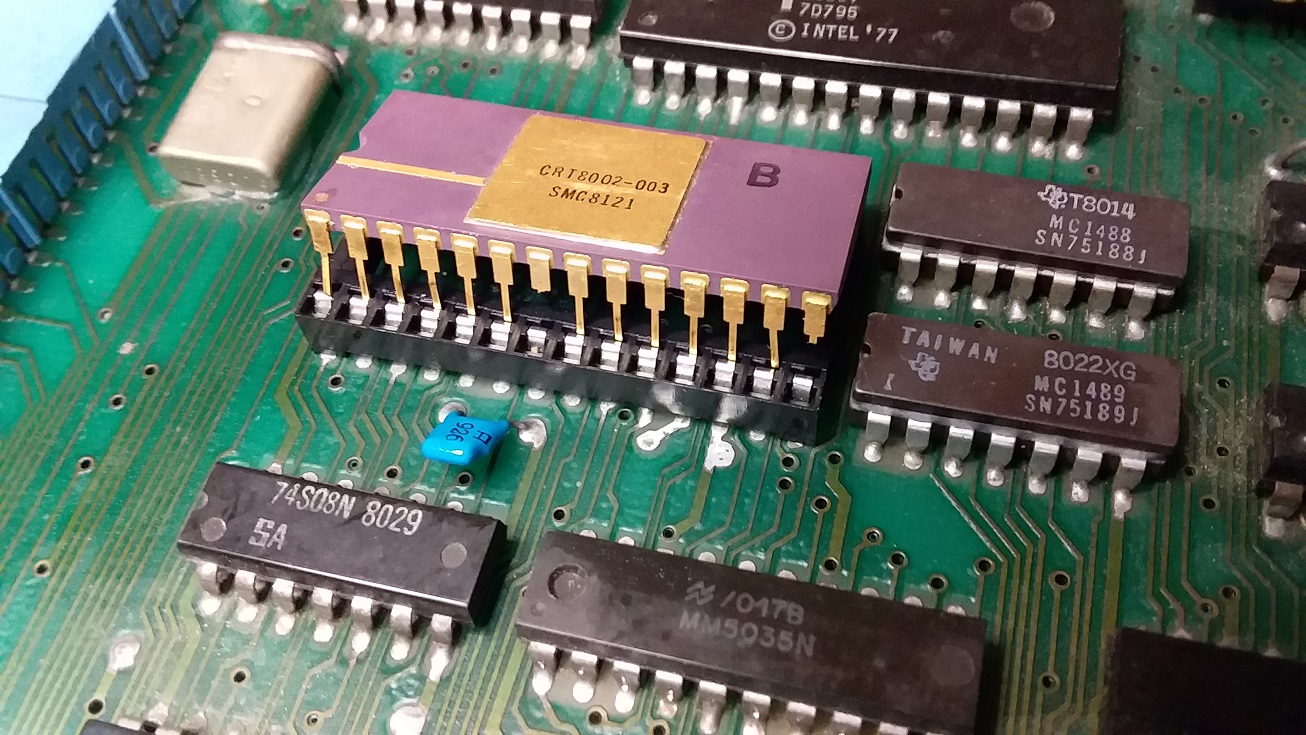
There are three significant chips in the video circuit. This took the longest to repair, as I had to wait a month between the delivery of each chip, only to find I had to try the next one. In the end, the problem was with the 80 character shift register (the last one I tried!). The computer has a custom character generator chip. This needed repair as the pins had deteriorated and started to fall off. But with the repair, fortunately it still works. This would have been a problem otherwise.
Keyboard The entire keyboard is working, although I had to replace the IC which generates the keystroke interupt to the CPU. The keyboard is a good old fashioned one with a satisfying “clunk” with each key press. I also had to make a small repair to the space bar for the pivot bar that balances the downward stroke onto the two switches. But fortunately the encoder IC was still working, as this would have been difficult to replace.
Floppy disk drives The original unit as I received it had 2x single density, single sided drives (Tandon TM100). The new ROM image was for a “Superbrain” which uses double sided drives. So I replaced one drive with an “as new” Shugart Associates SA400, and a Gotek floppy emulator for the other. I have added a switch so that the drives can been switched between A: and B: positions. The real floppy works perfectly and can be used to boot the computer. The Gotek was loaded with “FlashFloppy” and installed into a blank filler plate which is the size of the floppy it replaces. This was 3D printed. Fortunately, once again, someone had done all the hard work before as I obtained the 3D build files on the net.
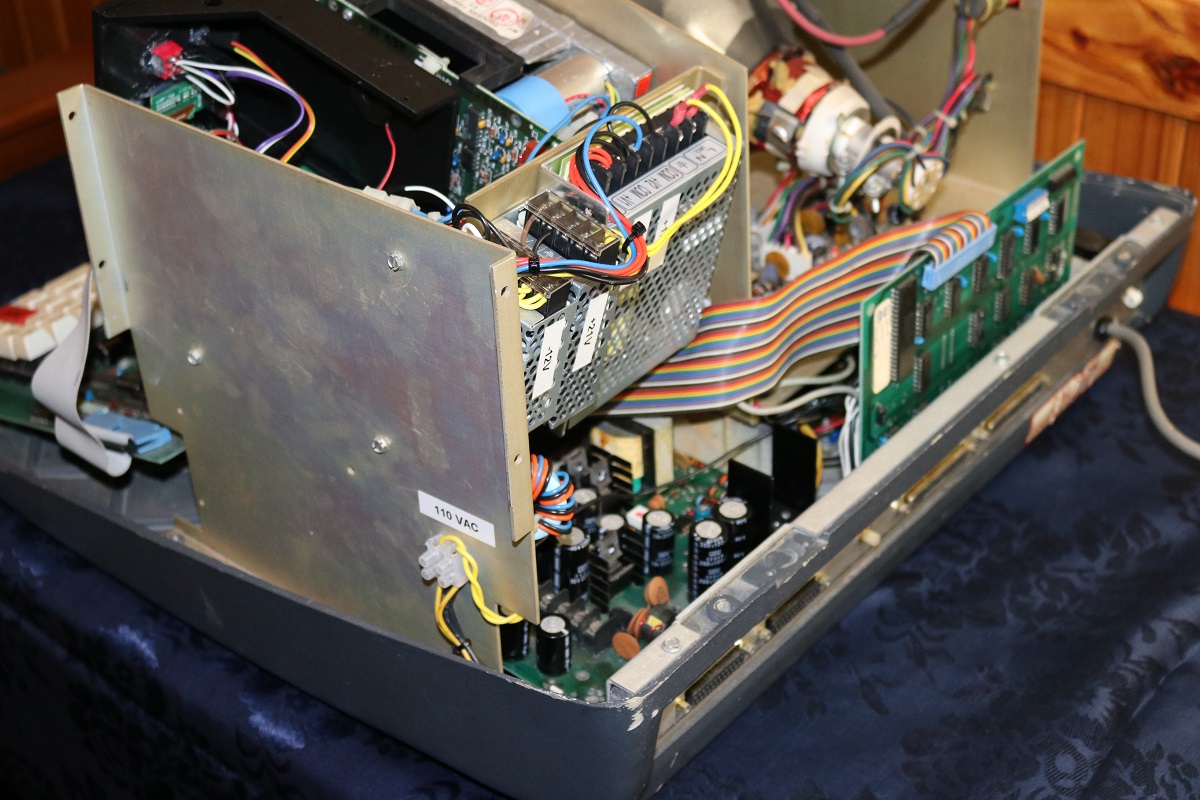
Power supply When I received the computer, the power supply was working, and it continued to work up until the last moment, but eventually failed. I was unable to repair it, as I suspect there was a failure in the insulation in the transformer. So it has been replaced with modern “Meanwell” units mounted behind the floppy drives, with the original power supply board still in place at the bottom/rear of the case. BTW, the computer has a 240/110 stepdown transformer in the bottom of the unit. This remains in place and the new “Meanwell” units are still powered from this.
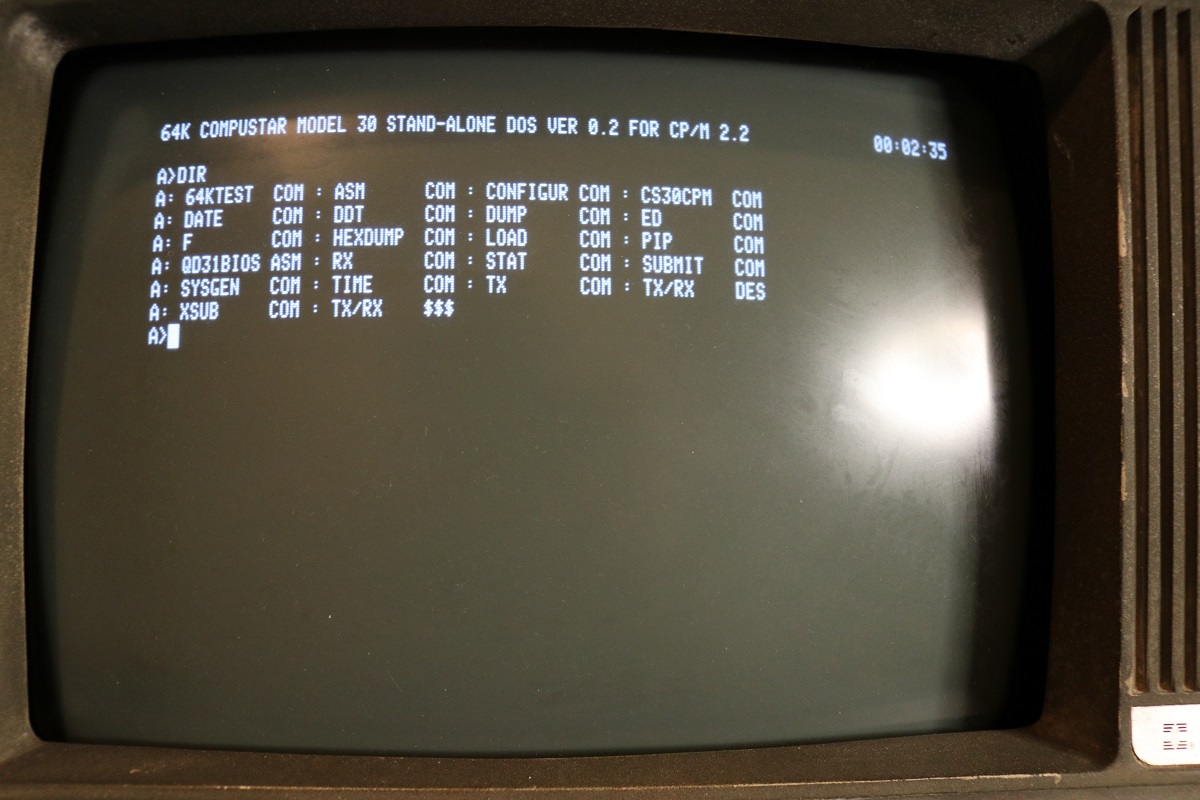
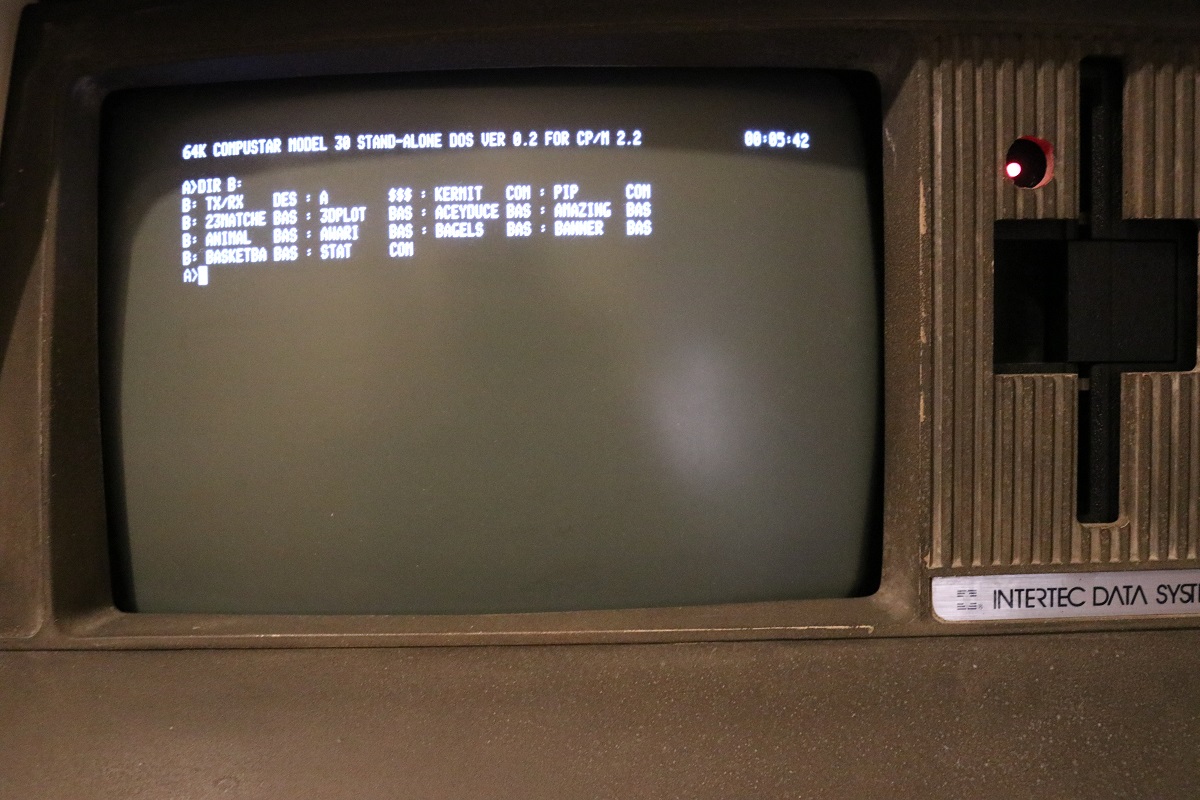
CP/M operating system and software I received the computer without any disks or software, so I was worried that I might never get the computer working again without this. But once again, there is a lot of information on the net from others who have restored these machines, including several disk images. I was delighted when the system booted almost immediately after installation of the Gotek drive with one of these images! These images also include lots of programs and utilites, e.g. MBASIC.
Serial ports The computer has two serial ports; MAIN and AUX. The MAIN port is definitely working. Interestingly, the disk images also include KERMIT and I have successfully connected the Compustar to my laptop PC, via a USB serial adaptor, and used “C-KERMIT” on the laptop to transfer files to the Compustar.
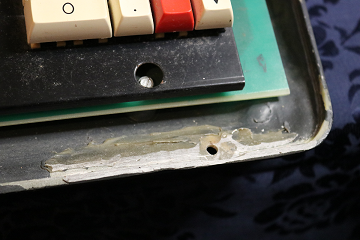
Case repairs The case is in very good condition. Only the bottom right corner of the lower case was broken, and this was simply repaired with plastic “bog”. This is invisible with the upper case on and does not detract from it appearance. It is a very smart and stylish computer, but also very heavy!


